
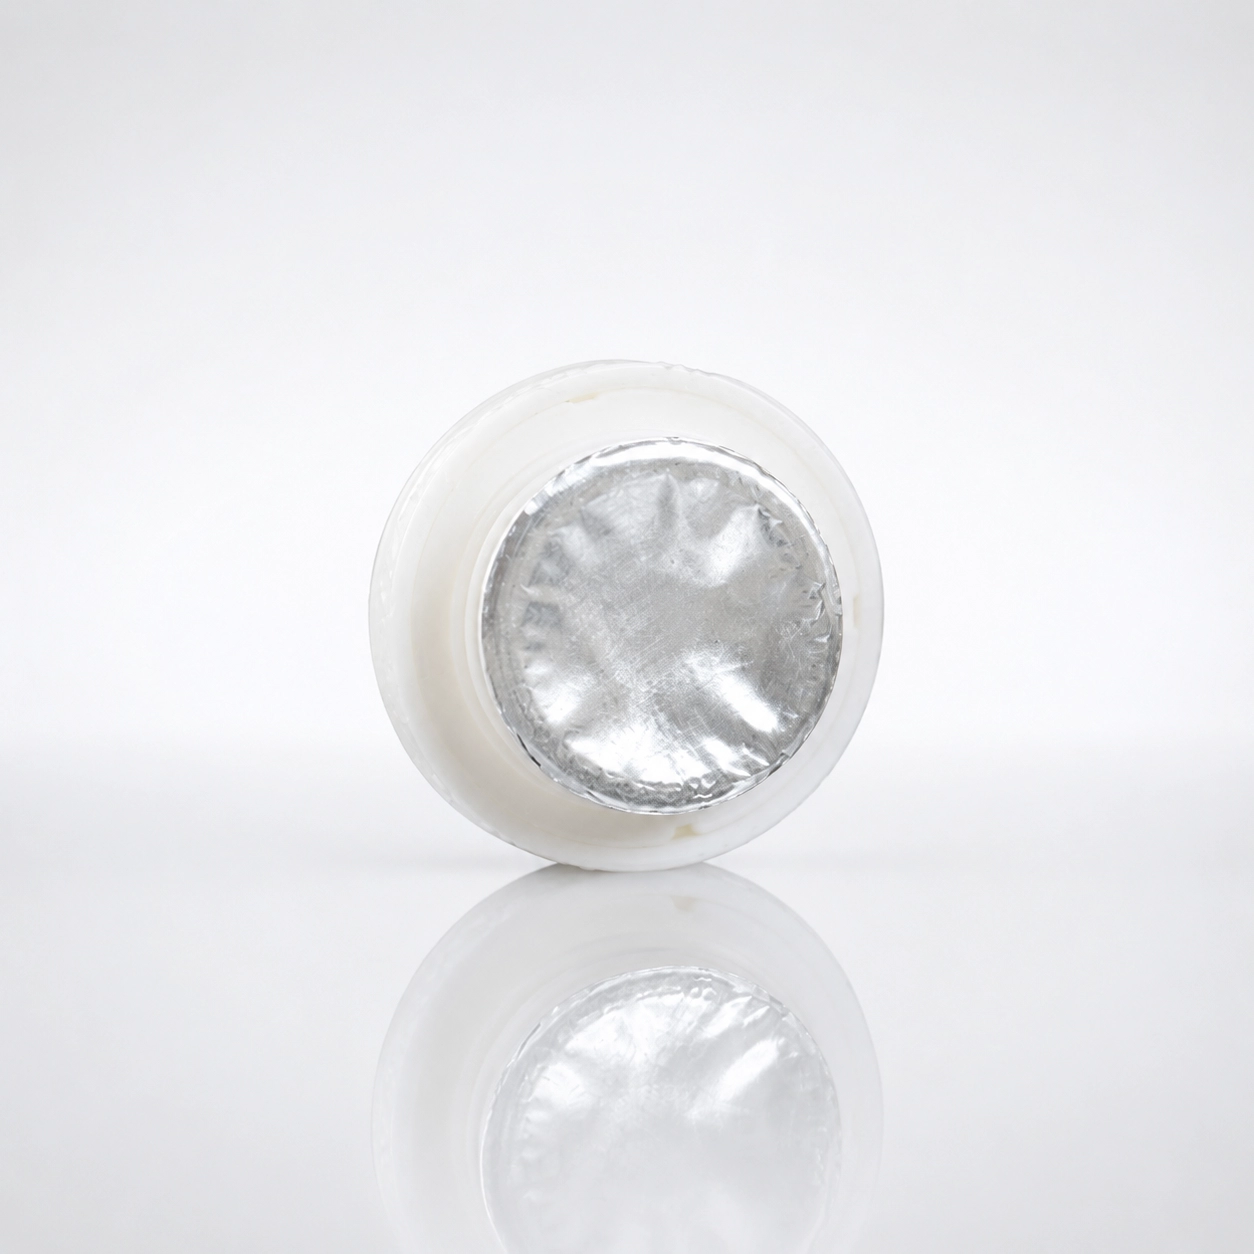
Quick answer: Only the top sheet of a sealing liner can be printed, and that sheet is roughly the size of a bottle mouth — which means the whole branding opportunity is a disc a few centimetres across. That constraint, not the printing technology, is what determines how a private label liner should be designed. Four colours is the practical ceiling, text below about 4 pt will not be legible, and artwork must keep a bleed margin from the cut edge because the die trims the sheet after printing.
Hangzhou Xinxing Pharmaceutical Packaging has produced private label sealing liners since 2001, and the pattern in that time has been consistent: the projects that run smoothly are the ones where the artwork was designed for a small disc rather than scaled down from a carton. This article covers what is possible, what is not, and where a private label liner budget actually goes.
What the consumer sees, and when
The printed surface of a sealing liner is revealed at the moment of first opening. Before that it is hidden inside the closure, and after opening it is the one element of the pack the consumer physically removes. That gives it a specific — and limited — job: to confirm authenticity, reinforce the brand at the point of use, and often to carry a short instruction or a tamper-evidence message.
It does not function as a label. There is no room for a regulatory statement, a barcode of useful size, or a multi-language ingredient list. Buyers who brief a private label liner as though it were a secondary label end up with unreadable artwork and a reprint.
The four printing decisions that determine the outcome
Colour count. Four colours plus varnish is the practical ceiling on a liner top sheet, and two colours is the norm. The reason is not press capability but ink coverage: on a disc of this size, each additional colour reduces the legibility of the others. A single strong colour on a white or metallic ground almost always reads better than a four-colour process image.
Ink type. Food-contact and pharmaceutical-contact inks are specified where the top sheet may come into contact with the product after opening. This is not a marketing distinction; it is a compliance requirement in regulated markets, and it changes the ink supplier and therefore the cost.
Ground. The top sheet can be supplied as coated board, plain board, metallized film or foil-faced board. A metallic ground gives the strongest shelf impression and is the most common choice for pharmaceutical brands; a plain board ground is cheaper and is genuinely preferred by some food and chemical buyers who want a low-decoration pack.
Varnish. A gloss or matt varnish protects the print from the product and from handling. Matt is the more common choice in pharmaceutical applications because it does not show scuffing when caps are bulk-packed and tumbled.
Artwork constraints that cause most reprints
Bleed. The die cuts the printed sheet, and the cut line has a tolerance band. Any design element — a border, a rule, a logo edge — that falls inside that band will look ragged on some liners and clean on others within the same batch. Artwork should assume a bleed margin from the trim line and keep all meaningful elements well inside it.
Minimum type size. Text below roughly 4 pt is not reliably legible on a printed liner, particularly on an uncoated board ground where ink wicks into the fibre. Small print that must appear — a batch code, a company registration number — is better handled through the outer carton, the closure, or a printed insert.
Reverse type. White text knocked out of a solid colour ground fills in on small characters. Where reverse type is essential, keep it to short words at a large size and specify a heavier weight.
Registration. Multi-colour work on a small disc is registered to a tighter tolerance than carton printing, but it is still registration. Fine multi-colour logos with thin keylines will show mis-registration on a proportion of the run. Simplifying the logo for the liner is usually cheaper than rejecting stock.
Where the money actually goes
A private label liner programme has four cost components, and buyers routinely misjudge their relative size:
Tooling — one-time. A new cutting die if the diameter is not already in our range. This is a fixed charge and it does not reduce with volume, so it dominates the unit price at trial quantities and almost disappears at production quantities.
Artwork and plate setup — one-time. Colour separation, plate making and a proof approval round. This is the component most often underestimated, because it involves the customer's own design resource as much as the printer's.
Print run — scaled. The incremental press cost of the colours and ground selected. This is the component buyers focus on, and it is usually the smallest of the four.
Material and construction — scaled. The sealant polymer, foil thickness, backing and total thickness. On a printed programme this is frequently larger than the printing cost itself, because a printed liner is usually specified in a higher-grade construction than an unprinted one.
The practical consequence: a buyer who wants to reduce the cost of a private label liner should first question the construction, not the colour count. Dropping from four colours to two saves relatively little; moving from a metallized ground to a coated board ground on a thinner backing saves materially.
Sequence for a private label programme that does not get reprinted
Step one — fix the diameter. Confirm the measured sealing land on the actual production container. Everything else is reversible; the die is not.
Step two — fix the construction. Sealant polymer against the product, foil thickness against the sealer's power, backing against the cap feeder. Approve an unprinted sample on the production line before any artwork exists.
Step three — design for the disc. Brief the artwork against the actual printable diameter, not against a carton. Two colours, one strong mark, generous margins.
Step four — proof on the real stock. Approve a printed proof on the actual board or film ground. A digital proof on white paper will not show how ink behaves on an uncoated board or how a metallic ground shifts the colour.
Step five — retain a reference. Keep a sealed reference liner and a sealed finished container from the approval batch. When a colour question arises eighteen months later — and it will — that reference settles it.
What to send with a private label enquiry
Four items let us quote without a round of questions: the container neck finish or a physical sample, the measured sealing land diameter, the product type and its aggressiveness, and the artwork with the intended printable diameter marked. With those, a private label liner can be quoted including die, plates and finished unit price in a single response.